This article explains how to stake the Solana (SOL) stored in your Trezor T, Trezor Safe 3 or Trezor Safe 5 hardware wallet via NuFi wallet.NuFi is a non-custodial Solana/multi-chain wallet that supports native Solana staking (i.e. direct to the blockchain with no middleman).Any SOL you stake remains in your hardware wallet's Solana account (it never leaves your wallet and you retain full ownership and control of your SOL at all times).TABLE OF CONTENTS
What is Solana Staking?
Staking means using your SOL's intrinsic voting power to support the security and operations of Solana blockchain. In a nutshell, it's how Solana remains decentralized.
- While staked, the SOL in your wallet can be used by the blockchain to 'vote' when the blockchain needs to make a decision.
- For example, when verifying new transactions and deciding if they should be included in the next block.
- By voting, staked SOL helps the Solana blockchain to reach a consensus without giving authority to a single entity.
- As a thank you for staking (and helping the blockchain run in a secure and decentralized way), you earn rewards in the form of additional SOL tokens.
- Staking rewards are paid directly into your stake account by the blockchain itself.
- Learn more in our Solana staking overview.
When you stake Solana via NuFi wallet:
- Your staked SOL never leaves your wallet and you retain full ownership
- You can withdraw all or just some of your staked SOL whenever you choose
- Your staking rewards are re-staked automatically
- You can choose the validator you want to stake to
- You can have multiple stake accounts
- There's no minimum staking period
- You get same-day customer support via email, X and Discord
Setup
1. Create a NuFi wallet
Before you can stake SOL using a Trezor hardware wallet, you need to create a NuFi wallet profile and pair your Trezor's Solana accounts.
This will 'import' (restore) your device's Solana accounts into NuFi wallet's interface, while your funds remain securely in your hardware wallet. You can also pair your Trezor device's Bitcoin, Cardano, Ethereum and EVM accounts.
There are two versions of NuFi wallet:
- a browser extension that you install from Chrome web store; and
- a web-based wallet accessed via a URL (nothing to install).
Both versions support Solana staking for Trezor devices and both connect you to Solana DApps; the browser extension connects to all Solana DApps and the web wallet connects to any DApp that supports WalletConnect.
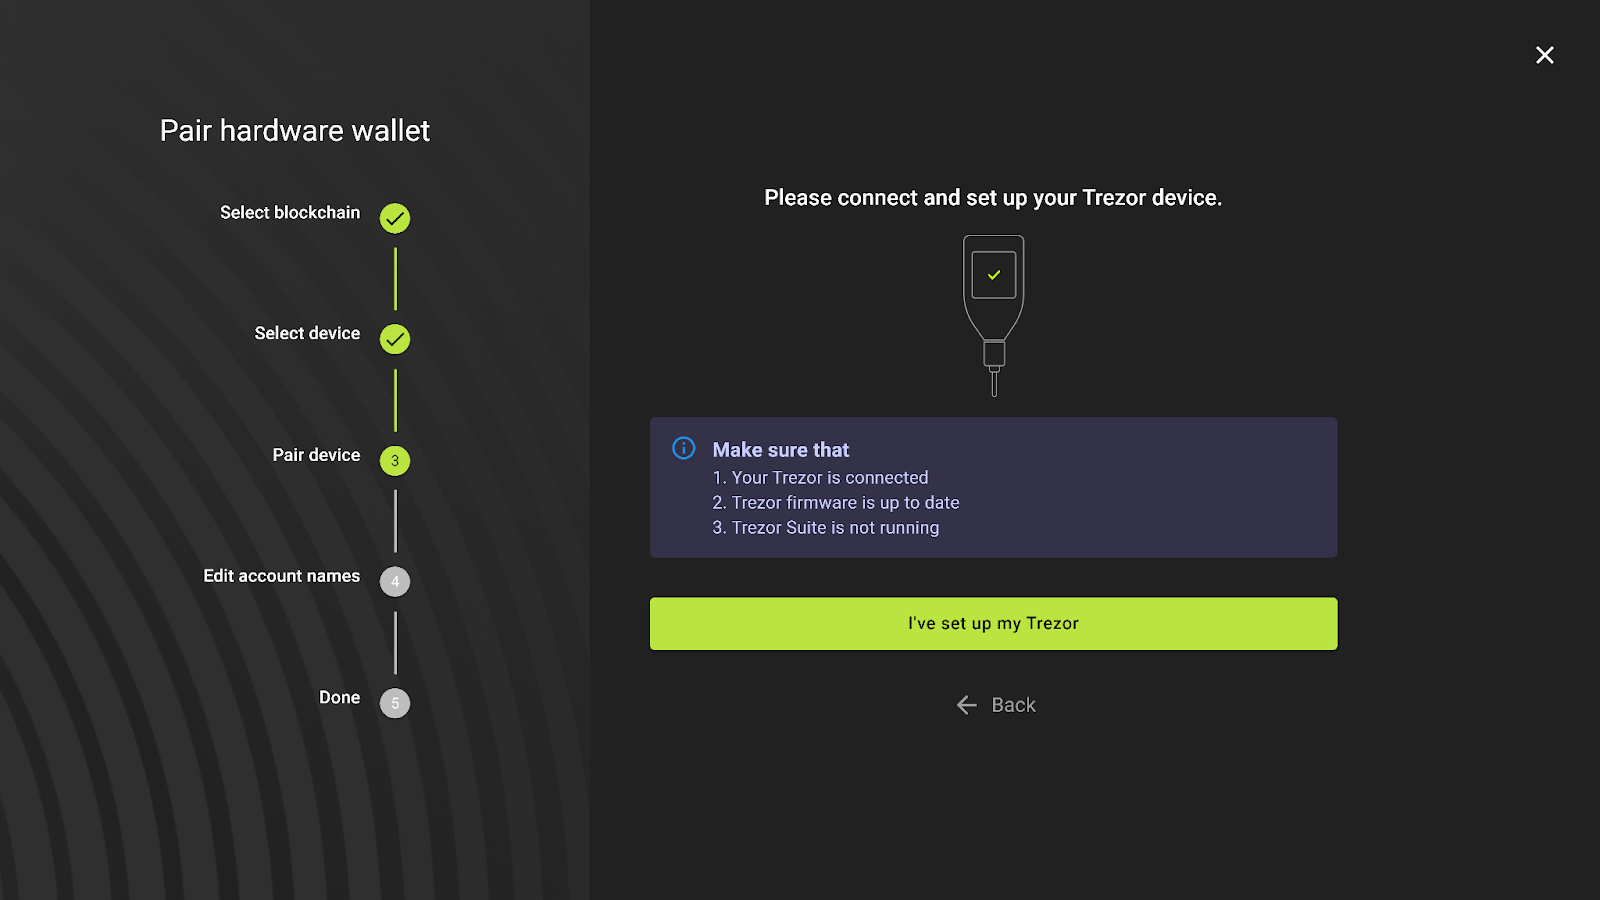
2. Pair your Trezor device's Solana accounts with NuFi wallet
- Open NuFi wallet's browser extension or visit wallet.nu.fi
- Click 'Pair hardware wallet' on the first screen
- Follow the on-screen instructions to create a NuFi wallet profile and pair your Trezor device's Solana account(s)
- You can pair your device's existing accounts or create new ones at any time from Portfolio > Accounts tab > Add account, as shown here:


Video: How to pair Trezor accounts in NuFi
The first part of this video shows you how to install NuFi wallet and pair your Trezor's Solana accounts (this takes about 1 minute).
The second part shows you how to connect your Trezor's Solana accounts to Solana DApps, so watch to the end if you're interested in.
Important:
- Make sure your Trezor device is up to date (use Trezor Suite to update)
- Make sure Trezor Suite is closed before doing any of the steps below
TABLE OF CONTENTS
Create a stake account in NuFi
When you have paired your Trezor device's Solana account in NuFi, you can start staking. To do that:
- Click Staking on the left-side menu in NuFi wallet
- Click the 'My Staking' tab at the top
- Click 'My Staking' for Solana blockchain
- Click 'Stake' on the account you want to use
- Choose an amount of SOL to stake and a validator to stake to (or use the recommended one).
Important: The SOL you stake will be locked and no longer in your available balance so you won't be able to use it to e.g. pay transaction fees. - Confirm the transaction in NuFi wallet and then review and approve the transaction on your Trezor device; you'll see a message confirming that the SOL has been staked successfully.


You'll find your new stake account (and any other stake accounts you have) on your Solana staking dashboard:

About staking rewards
- Your stake account takes up to 2 days to activate before it starts earning rewards
- You'll receive your first SOL staking rewards in 2 to 4 days after you start staking, and then every ~2 days thereafter
- You can unstake SOL from a stake account or withdraw staking rewards as shown in our guide here
Troubleshooting
Problem: The transaction keeps failing when I try to create a new Solana stake account.
Cause 1: You don't have enough SOL in your available balance to cover your account's rent costs and pay transaction fees. Solana accounts are required to maintain a minimum SOL balance, known as 'rent'. This is approximately 0.003 SOL for token/stake accounts. If deducting a transaction fee from your account would push its SOL balance below this threshold, the transaction will fail.
Solution: Add more SOL to your available balance and try again.
Cause 2: The transaction has expired and can't be submitted. This happens when too much time passes between the transaction being created and it being signed and submitted.
Solution: Review and approve the transaction in under a minute.
Problem: Trezor Connect doesn't pop up when I try to export my public keys or sign a transaction.
Cause: Something is preventing the Trezor Connect window from opening.
Solution: Double-check your browser's security settings and enable permissions like 'popups/redirects'; try disabling preset security schemes; be alert to icons and popups from your browser telling you that a popup window has been blocked (these icons are normally shown in/next to the address bar).
Problem: The Trezor Connect window appears but I don't see my device listed.
Cause: Your browser isn't discovering your Trezor device; you need to pair/connect the device and browser.
Solution: Disconnect and re-connect your device; look out for a popup from the browser asking if you want to connect to the device (this often appears in the top-left corner).
When you see this popup, click the device name inside the popup (so it's highlighted) then click the Connect button (which will only become clickable after you select the device inside the popup).
Please reach out to our support team on Discord or create a support ticket if you need assistance.
TABLE OF CONTENTS