
Following a June 2026 security incident, SecondFi wallet is shutting down; SecondFi users should migrate to a different crypto wallet.
This article explains how to migrate Ledger and Trezor hardware wallet accounts from SecondFi to NUFI wallet.
NUFI wallet:
- Is non-custodial, private and secure: nobody can access your crypto except you
- Supports Cardano, Bitcoin, Ethereum, all EVM chains, Solana, Tron, SVM chains and more
- Supports Ledger, Trezor, Keystone, OneKey, BitBox02 and GridPlus devices
- Supports ADA, SOL and FLOW staking, $NIGHT redeeming, buying and selling inside the wallet
- Has 3 DEX aggregators integrated for Cardano, Solana and cross-chain swaps
- Connects to dApps on all supported chains (including dApps that don't support NUFI directly, thanks to Wallet Emulation)
Before you begin, please ensure your hardware wallet device's firmware is up to date. Ledger users should also ensure apps are up to date. Close Ledger Live/Trezor Suite before pairing your device with NUFI wallet.Step 1: Setup
- Download NUFI's browser extension wallet or open NUFI's web wallet (see the difference here).
Step 2: Create a wallet profile
- Open NUFI and select 'Pair Hardware Wallet'
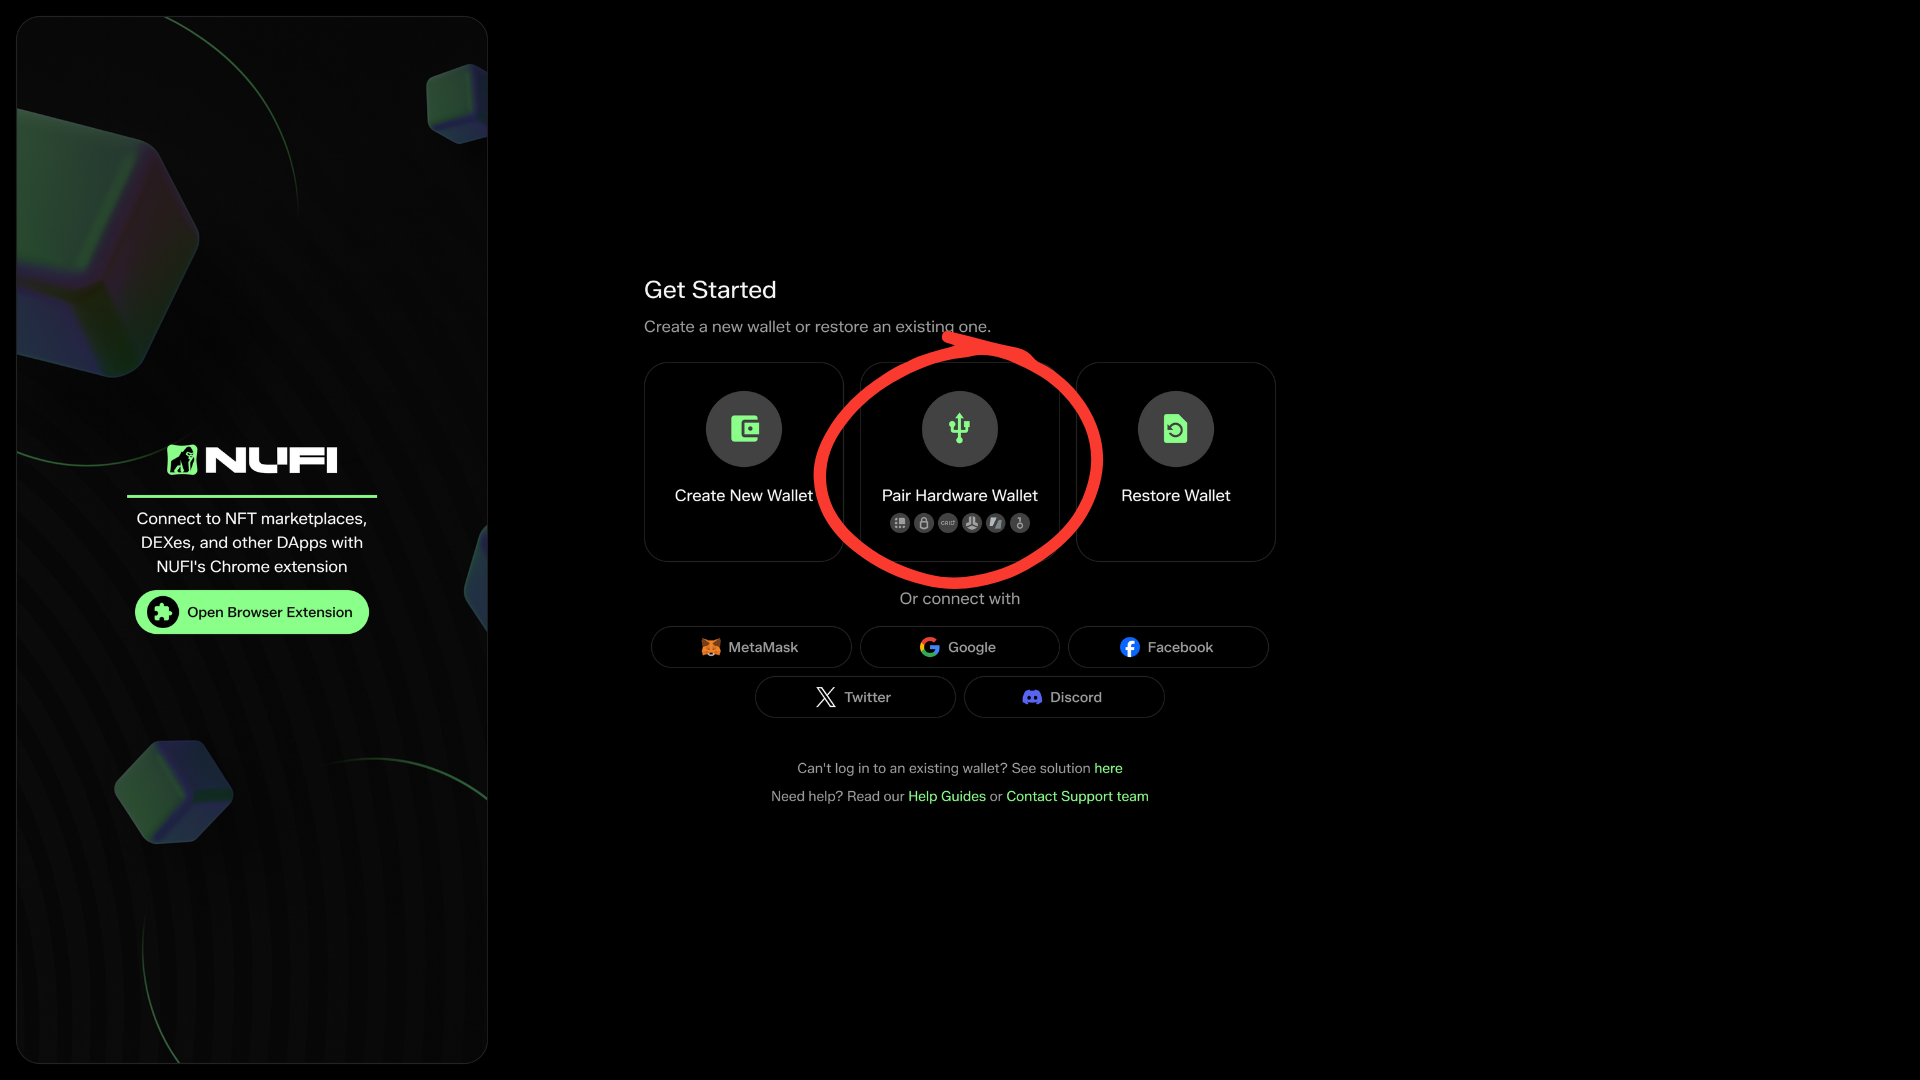
- Choose a name for your wallet profile and set a password. This allows you to:
- Log in quickly when you open NUFI (without needing to connect your device)
Note: you'll need to connect your device in order to execute any transaction - Create multiple wallet profiles
Note: you can choose which profile to log in to each time you open NUFI.
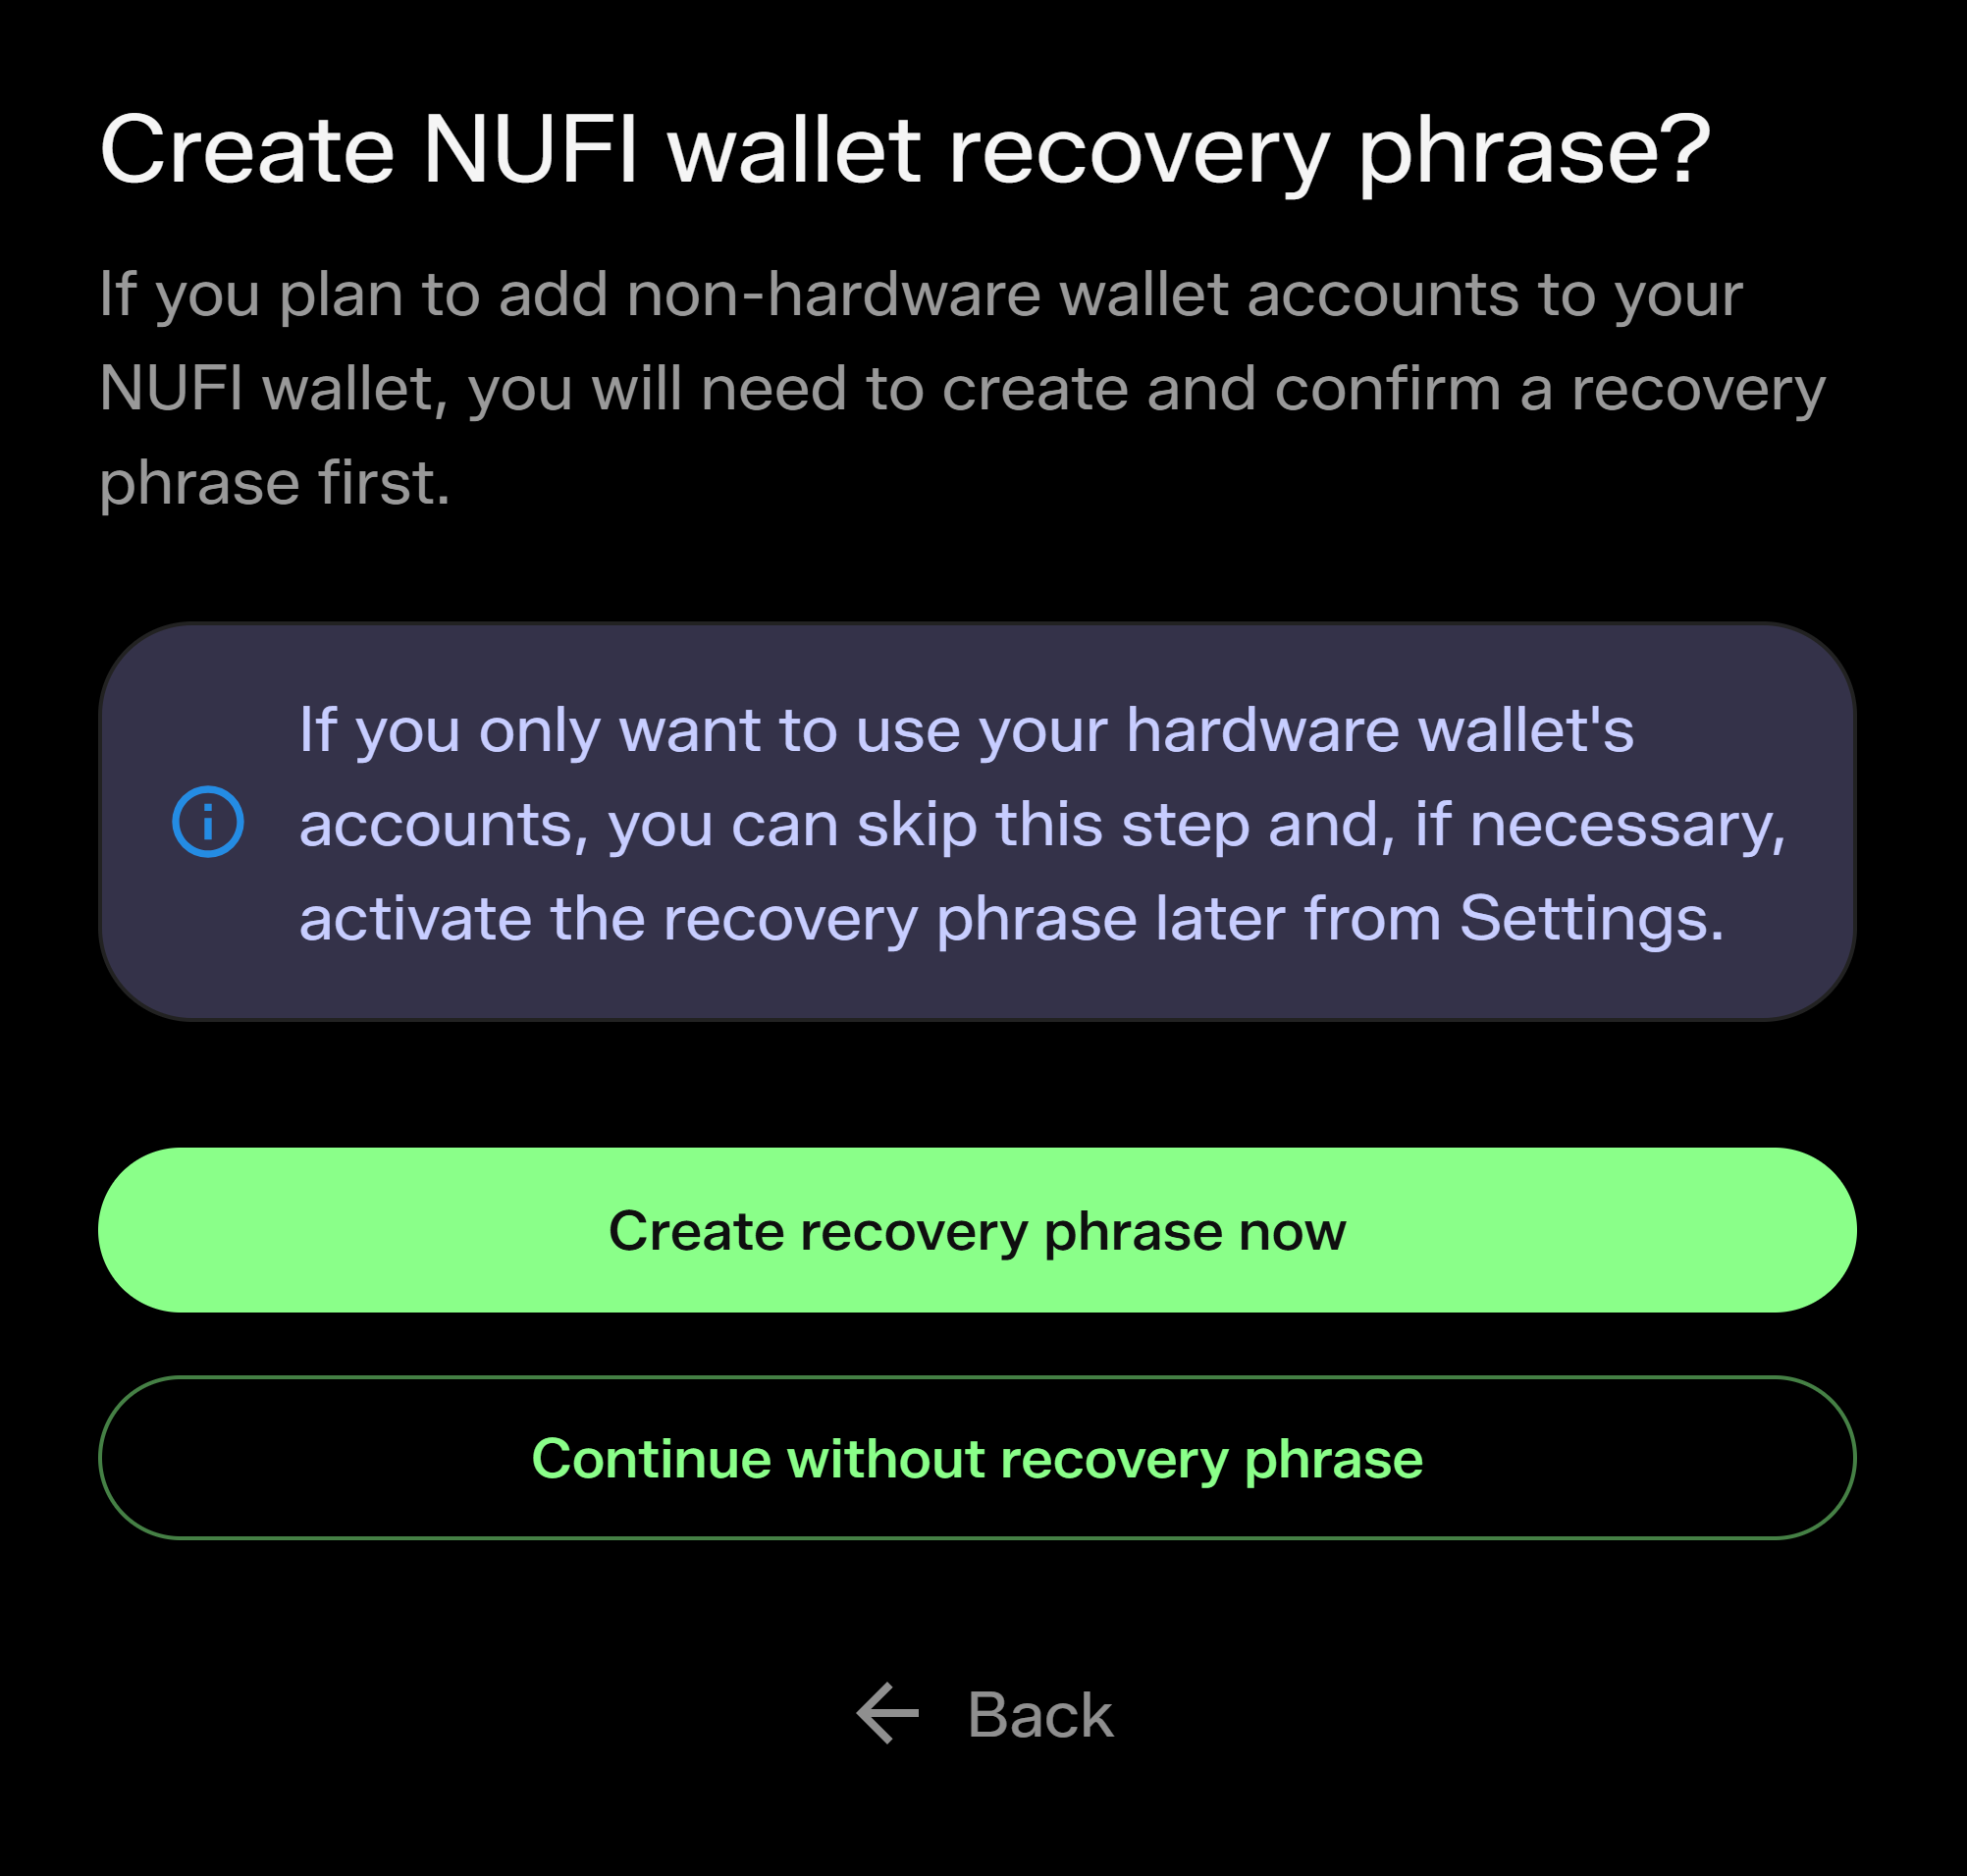
Step 3: (Optional) Recovery phrase
- If you don't have a hardware wallet, you'll always write down a recovery phrase during setup.
- If you do have a hardware wallet, you can choose to skip the recovery phrase, as this is used to back up seed phrase (non-hardware wallet) accounts only.
Hardware wallet users can add seed phrase accounts to their wallet profile at any time. If you skip the recovery phrase during onboarding, you'll be prompted to write it down if you add a seed phrase account in the future.
Step 4: Enable blockchains
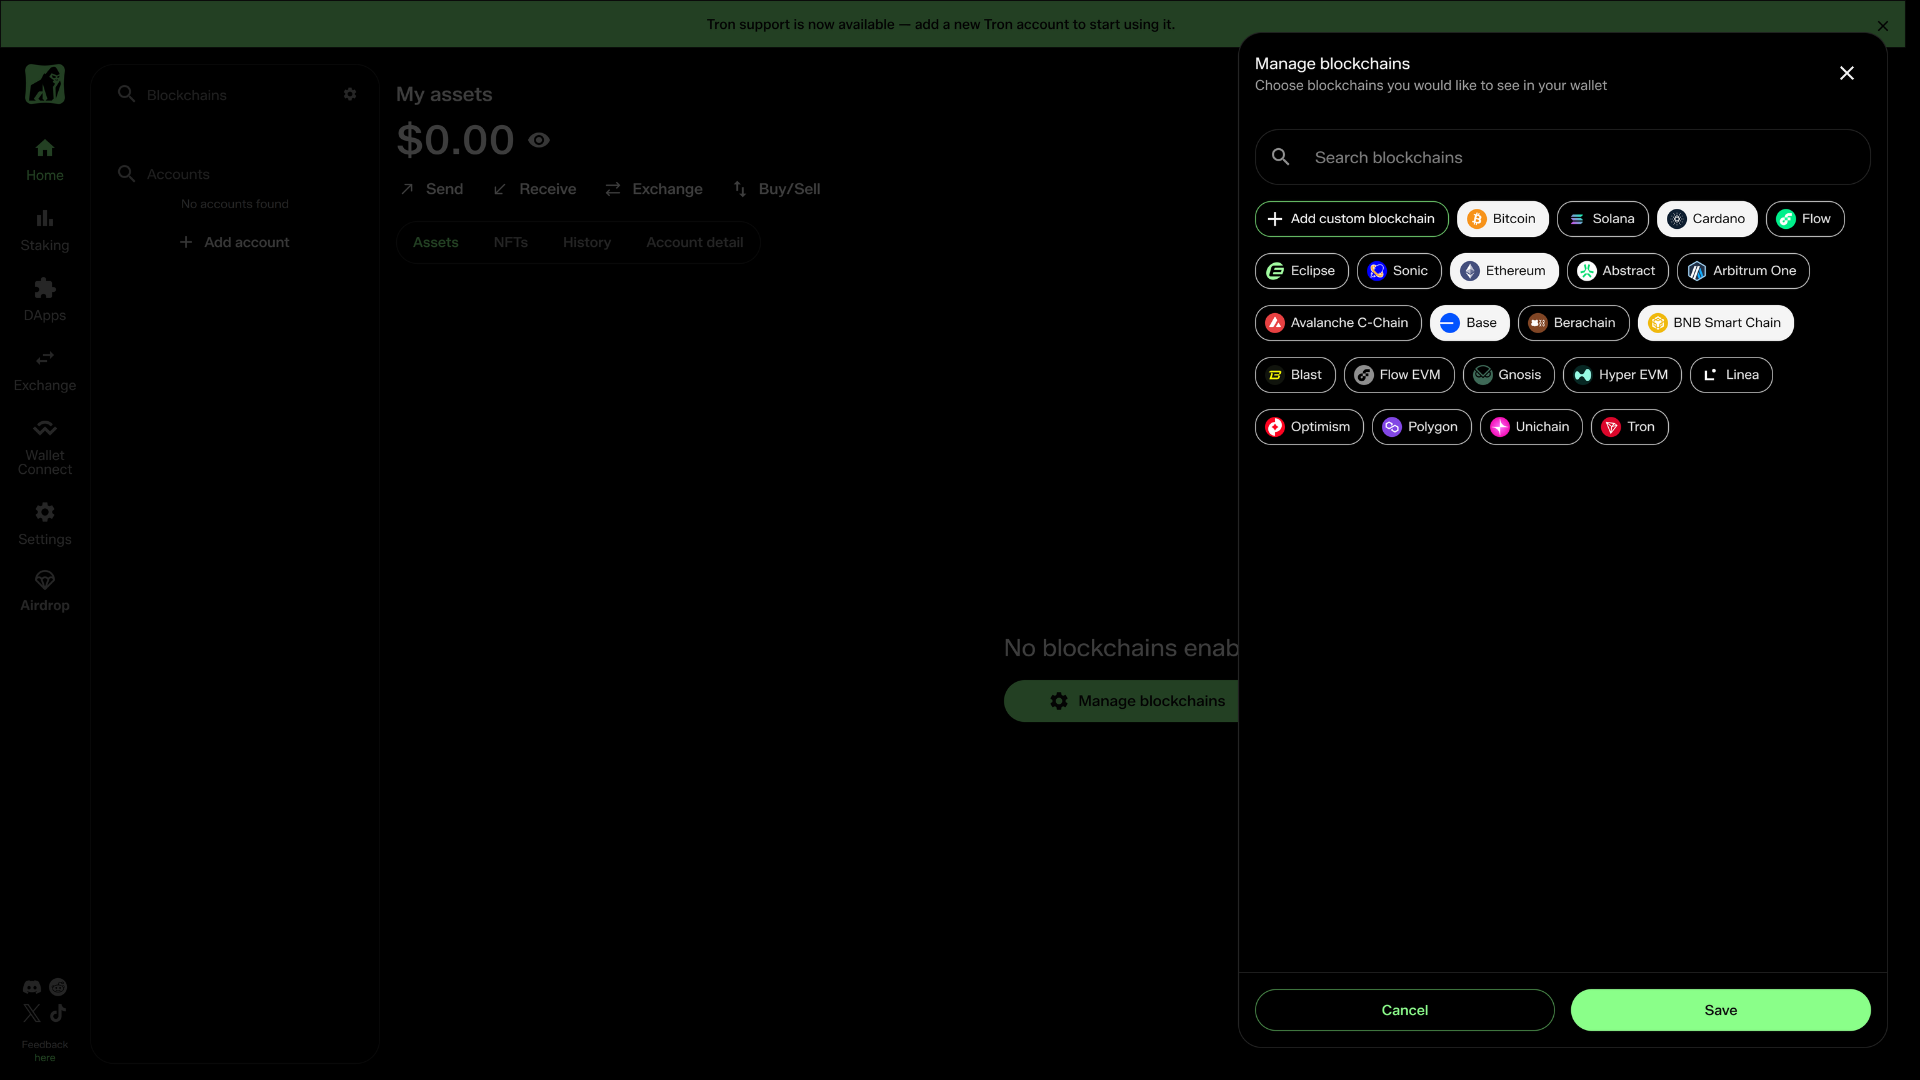
When your wallet opens, you'll see the different blockchains that NUFI supports (with an option to add any EVM chain that isn't pre-installed). Select which blockchains you want to enable.
Step 5: Add accounts
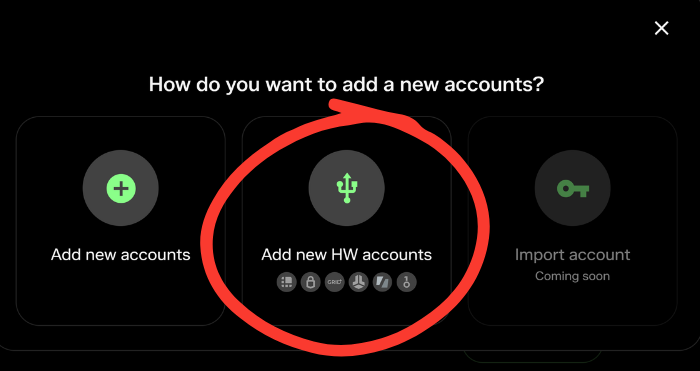
- Click 'Add Account'
- Select 'Add new HW accounts'
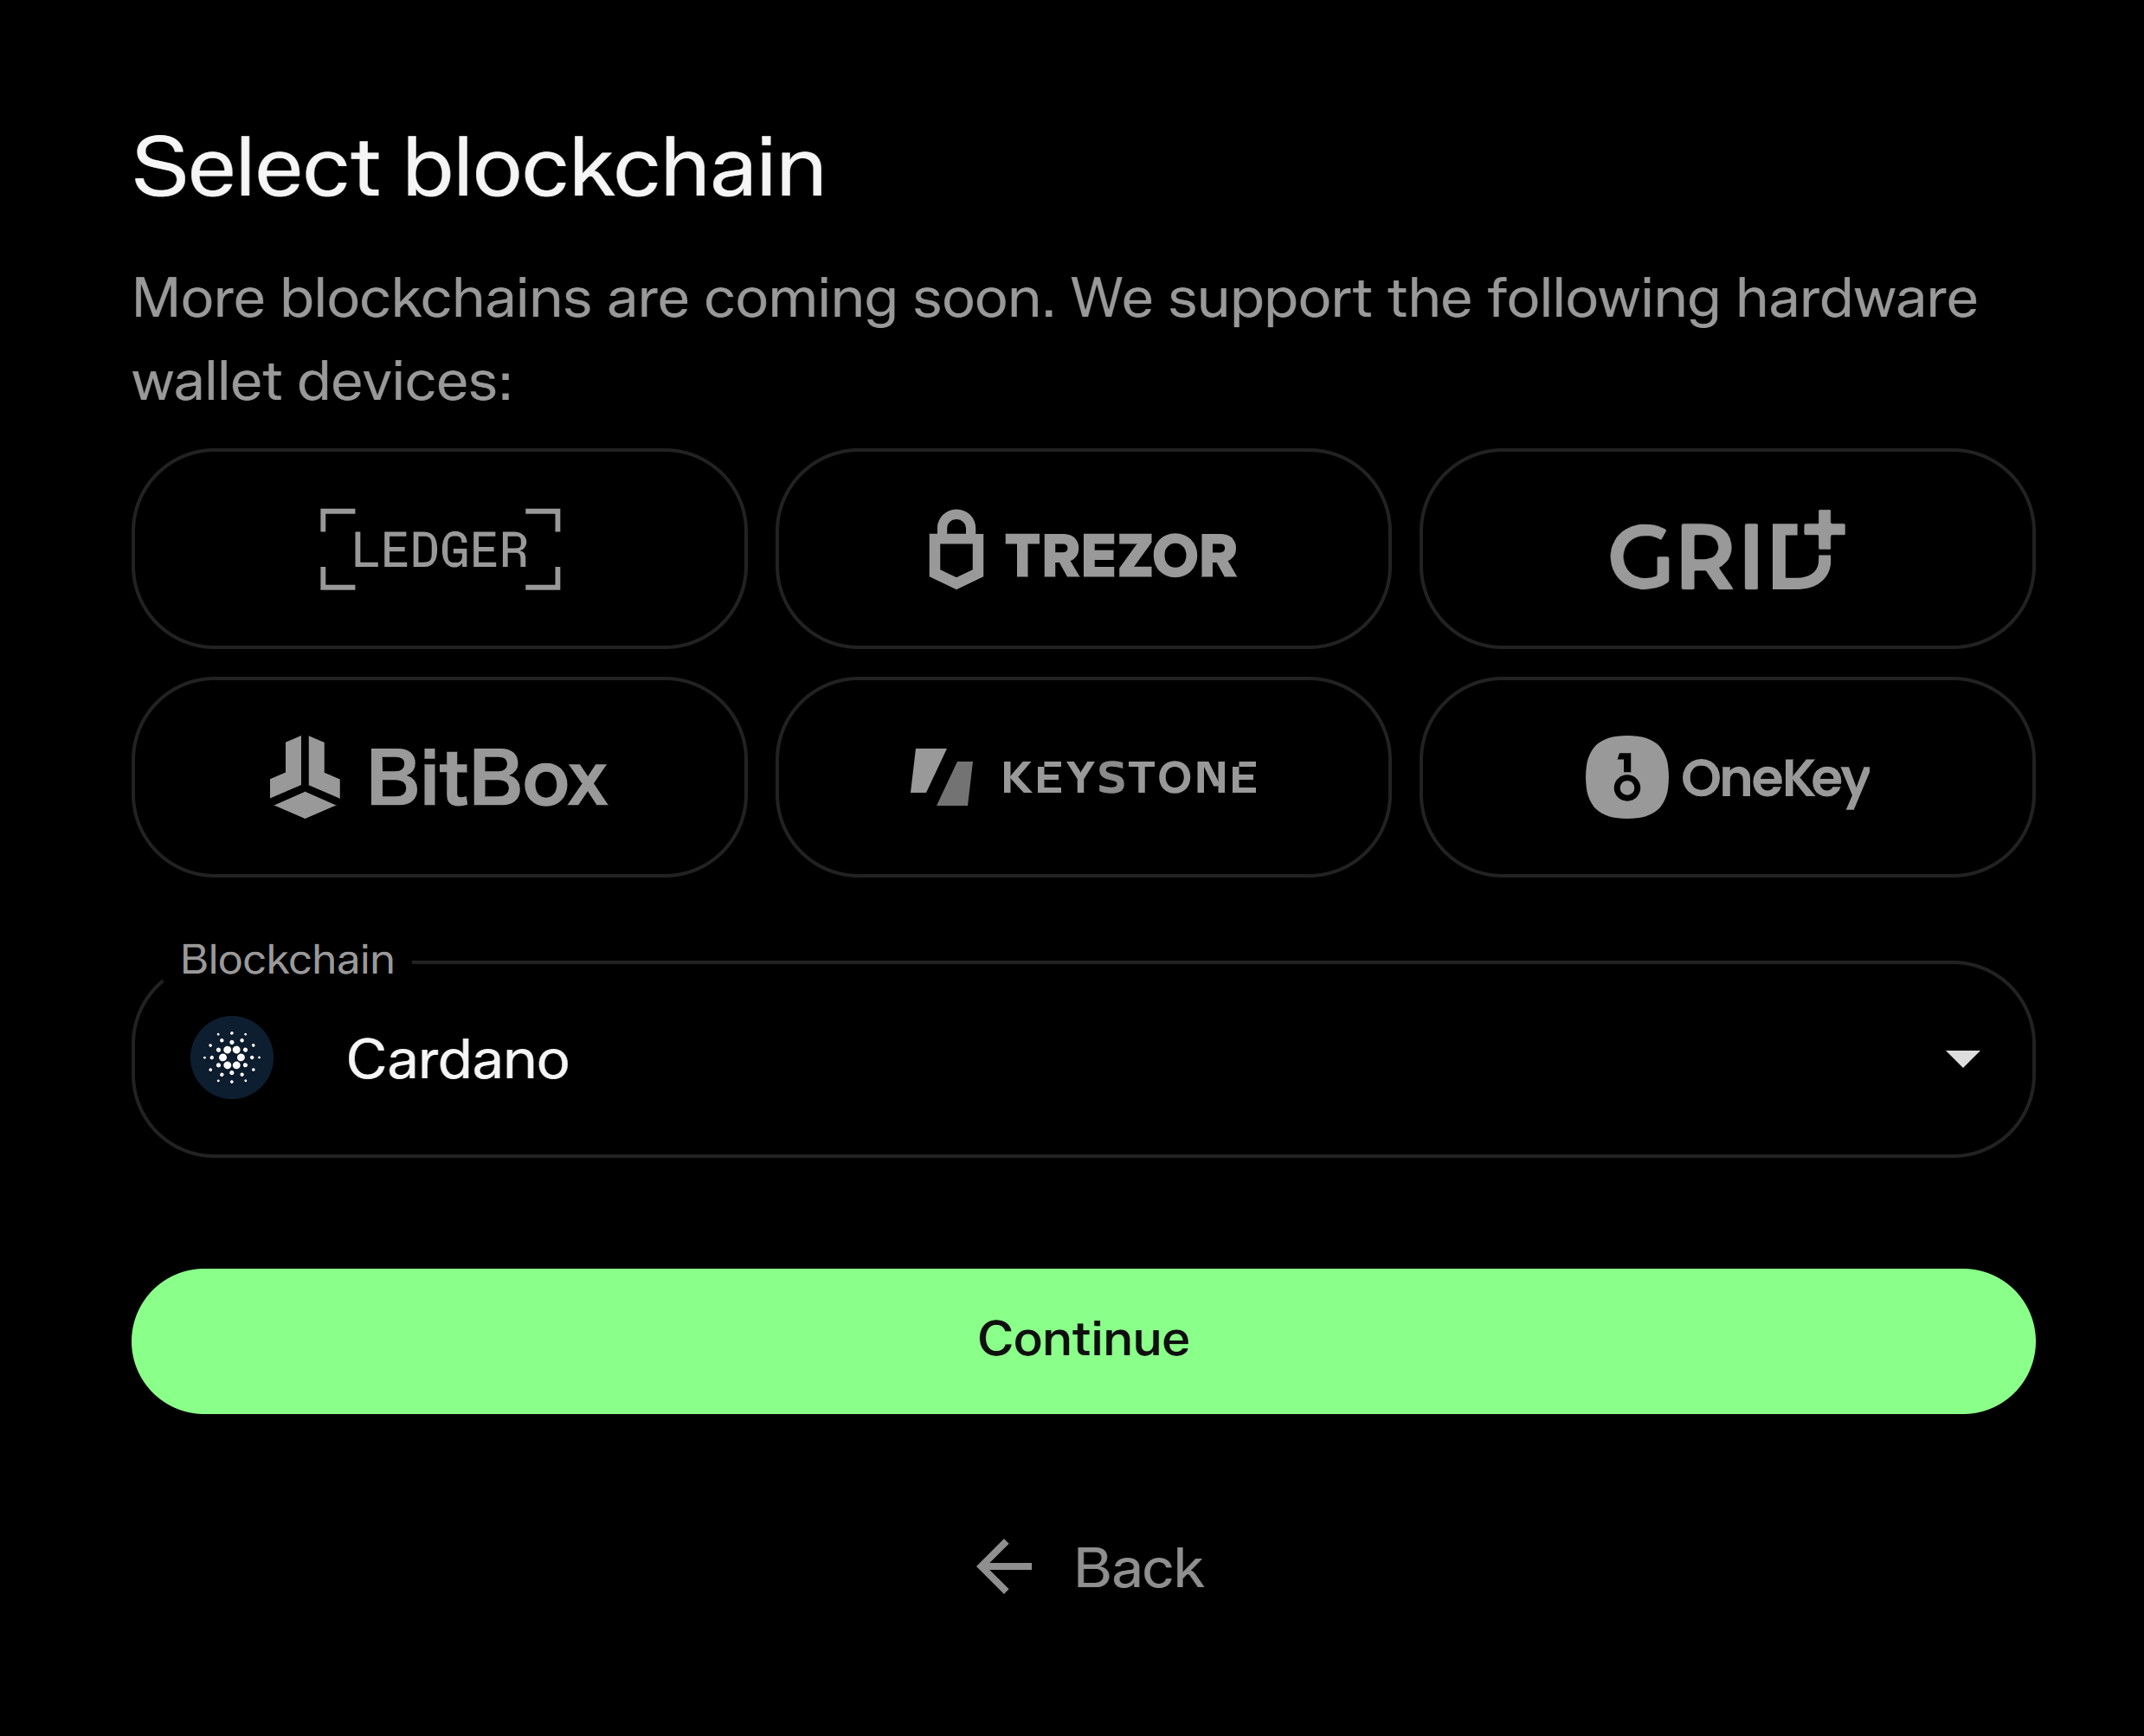
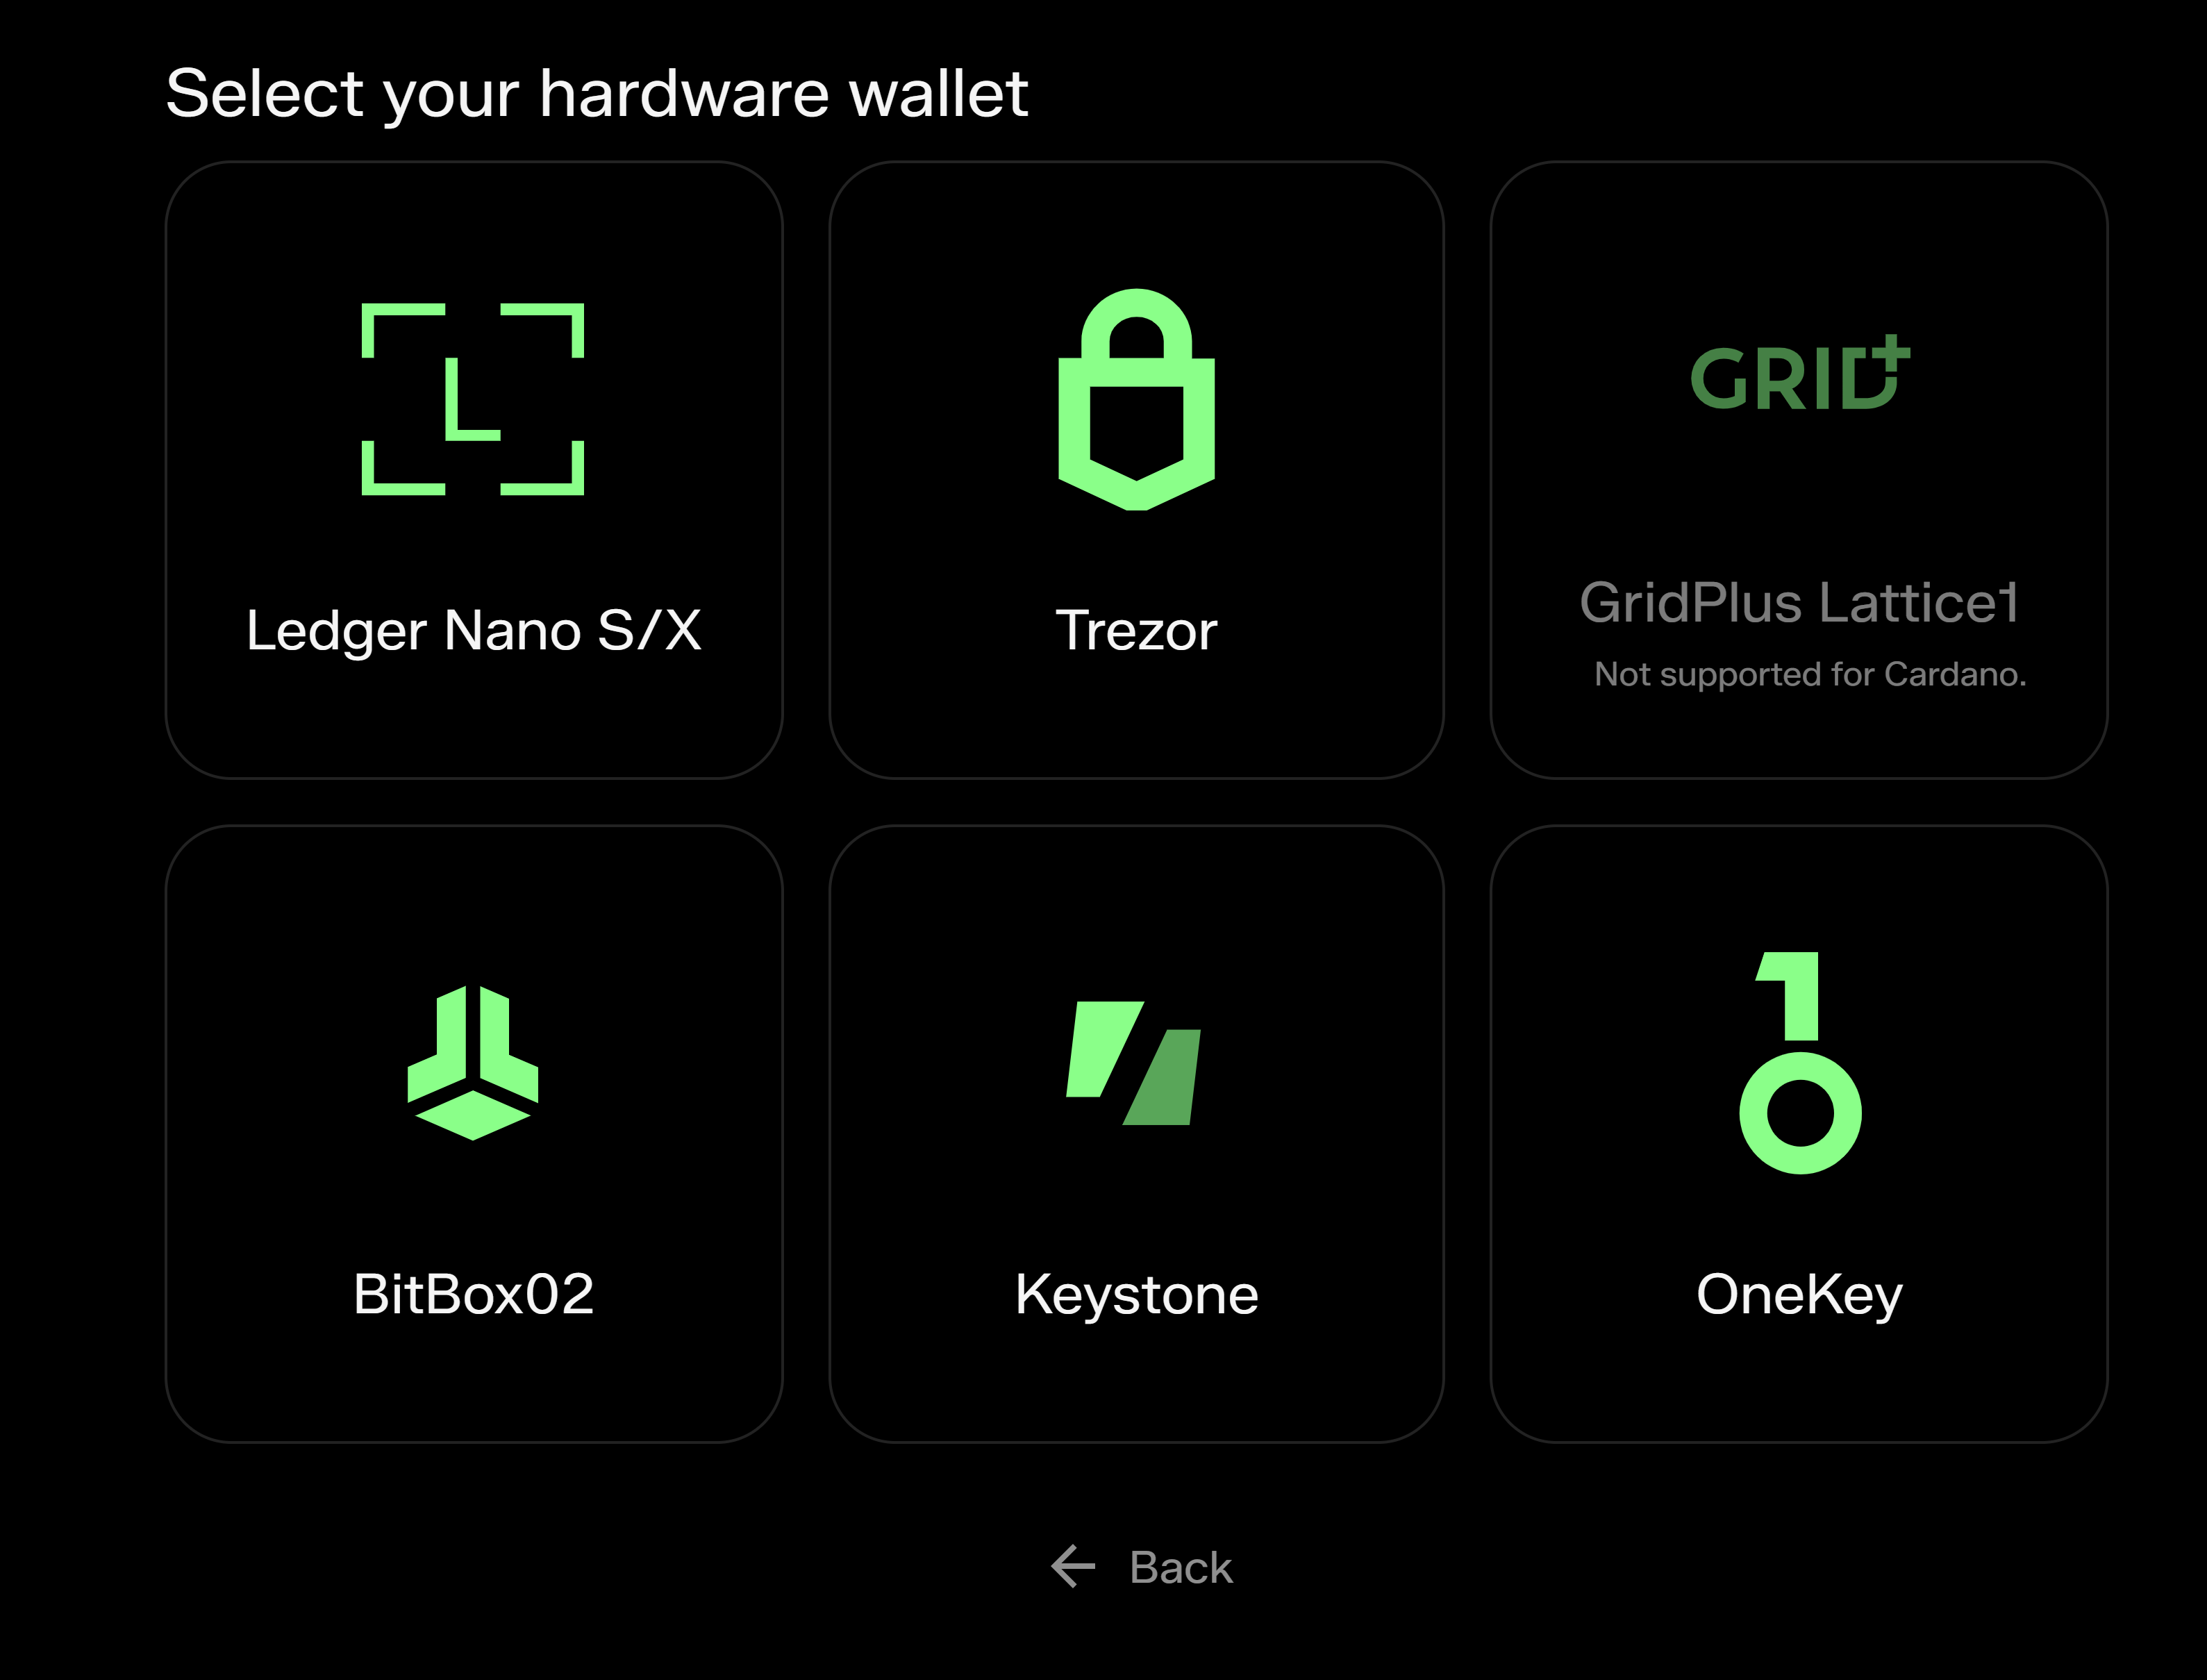
- Select a blockchain, and your device
Step 6: Export public keys
NUFI will interact with your hardware wallet device to export public keys from the device and display your hardware wallet's accounts.
For Ledger devices: confirm public key export on the device itself when prompted.
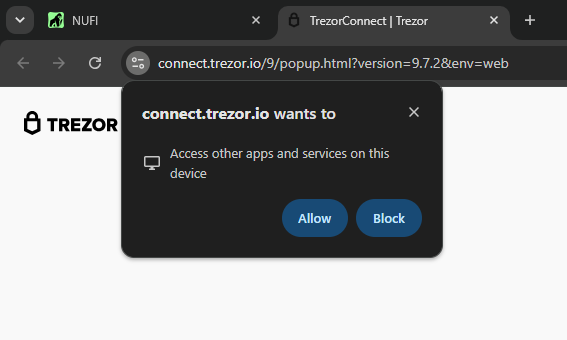
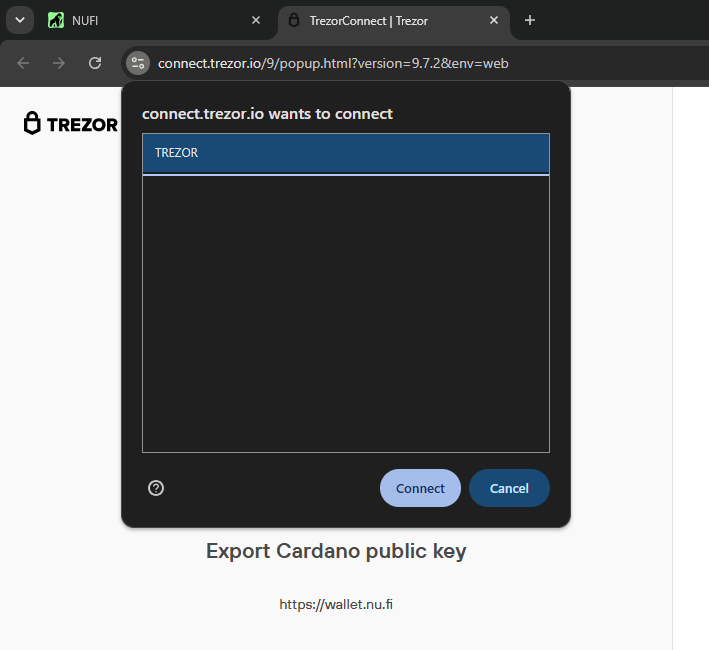
For Trezor devices: ensure that popups are enabled and, when Trezor Connect launches, select a device and wallet type (Standard or Passphrase) to export public keys.
Important: your browser may prompt you to establish a connection with your device; allow the browser to access the device and approve the connection.
Step 7: Import accounts into NUFI
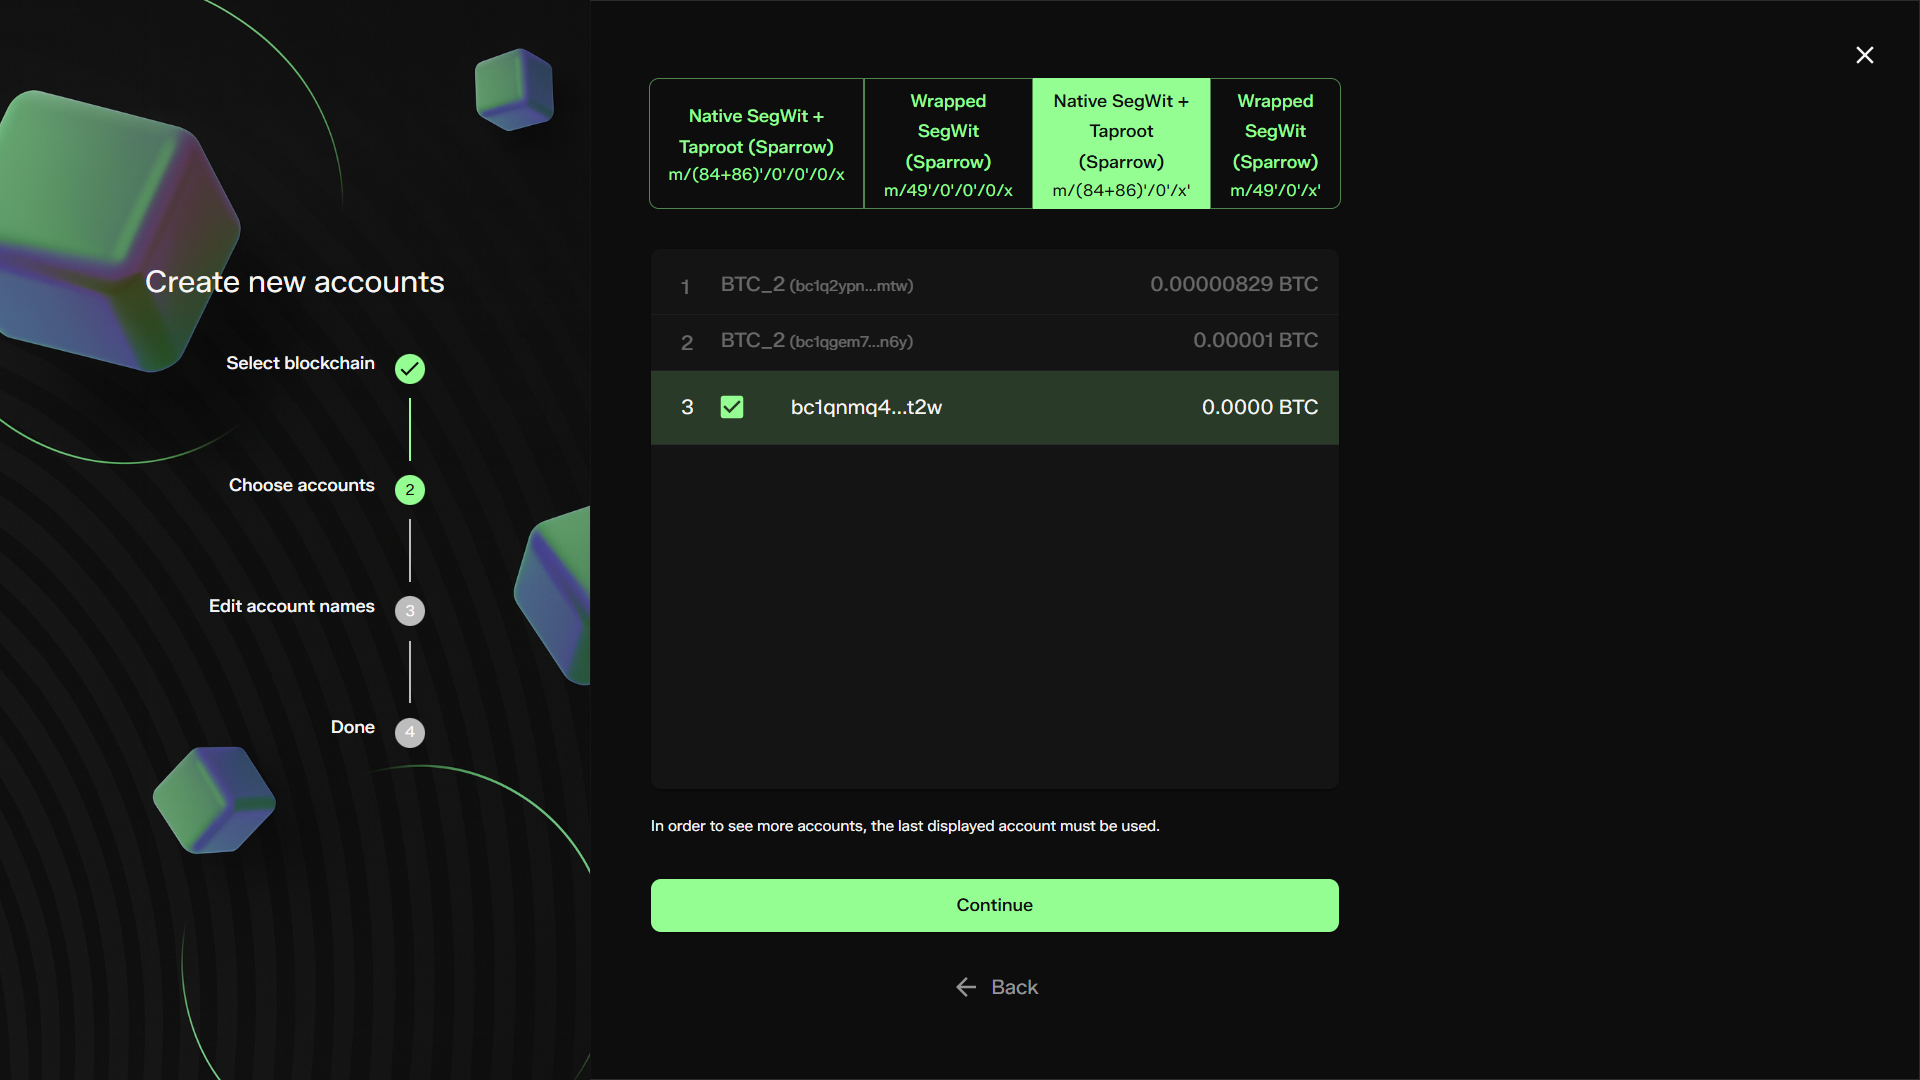
Select which accounts you'd like to import into your wallet profile.
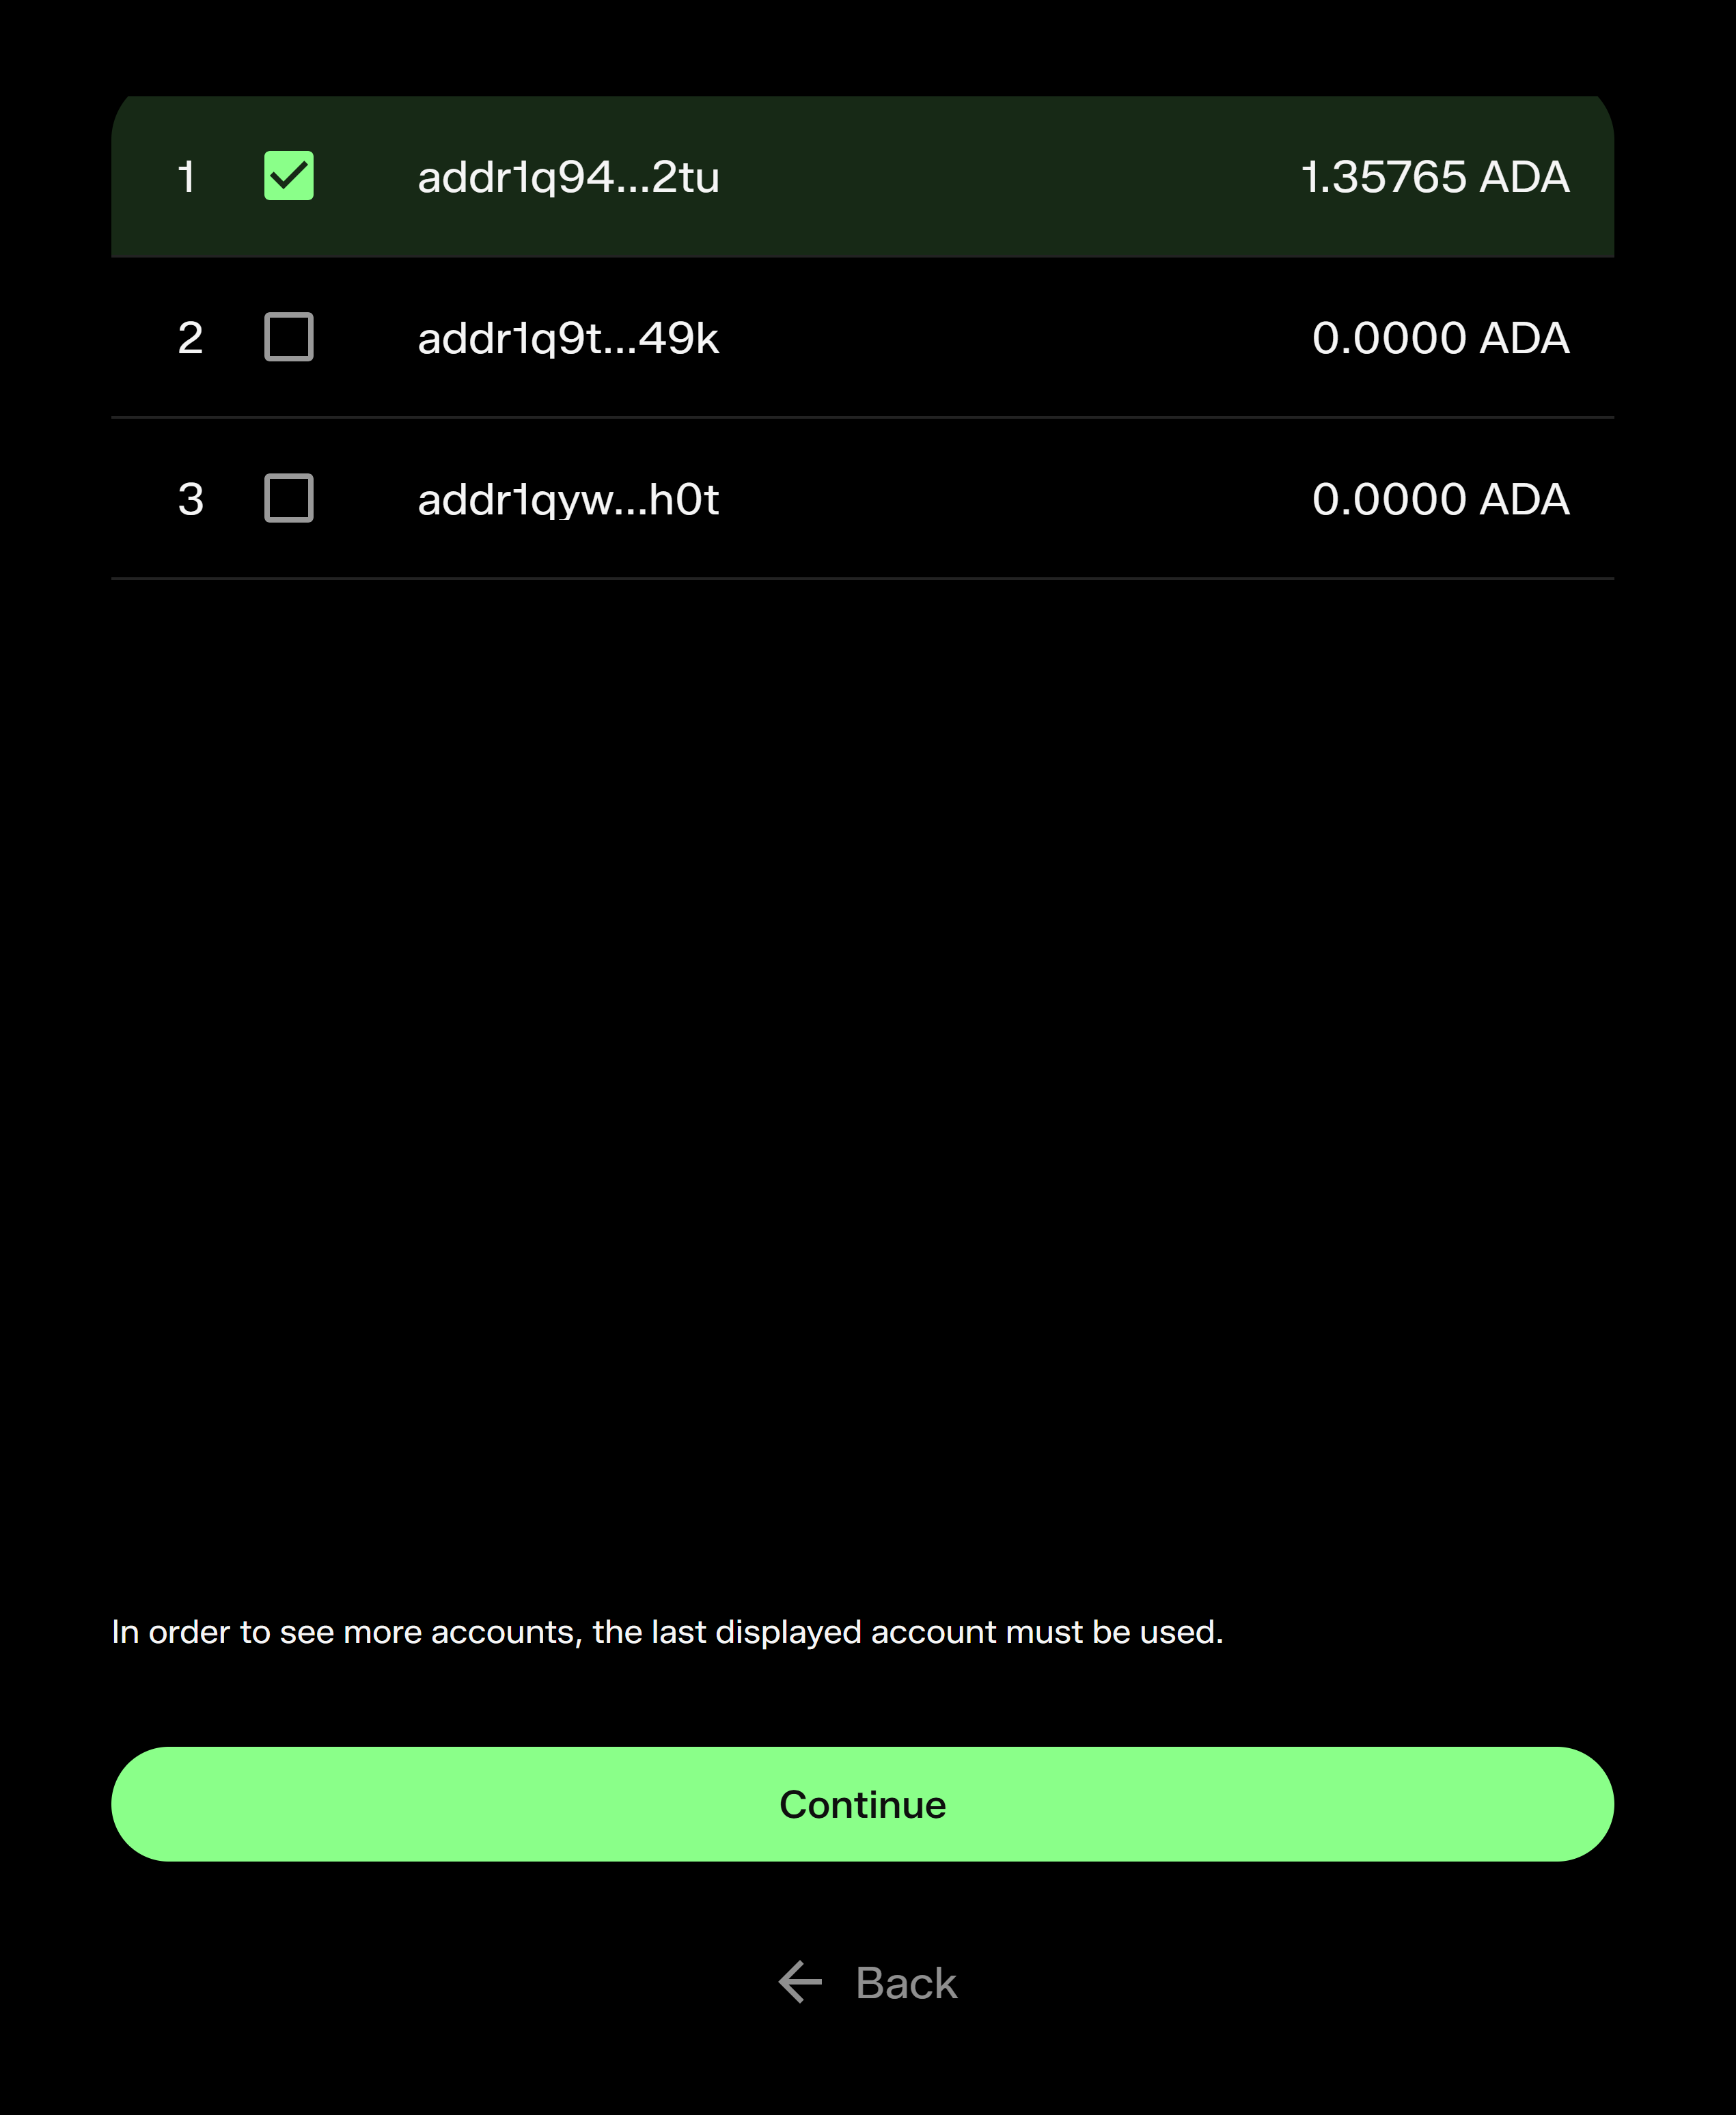
Important: for many blockchains, NUFI enables you to import accounts derived using several derivation paths. If you can't see an account, check each derivation path by switching between the tabs at the top:
Your accounts will be displayed in your wallet profile.
You'll see the same assets, account addresses, transaction history and staking setup that you saw in SecondFi wallet's interface.
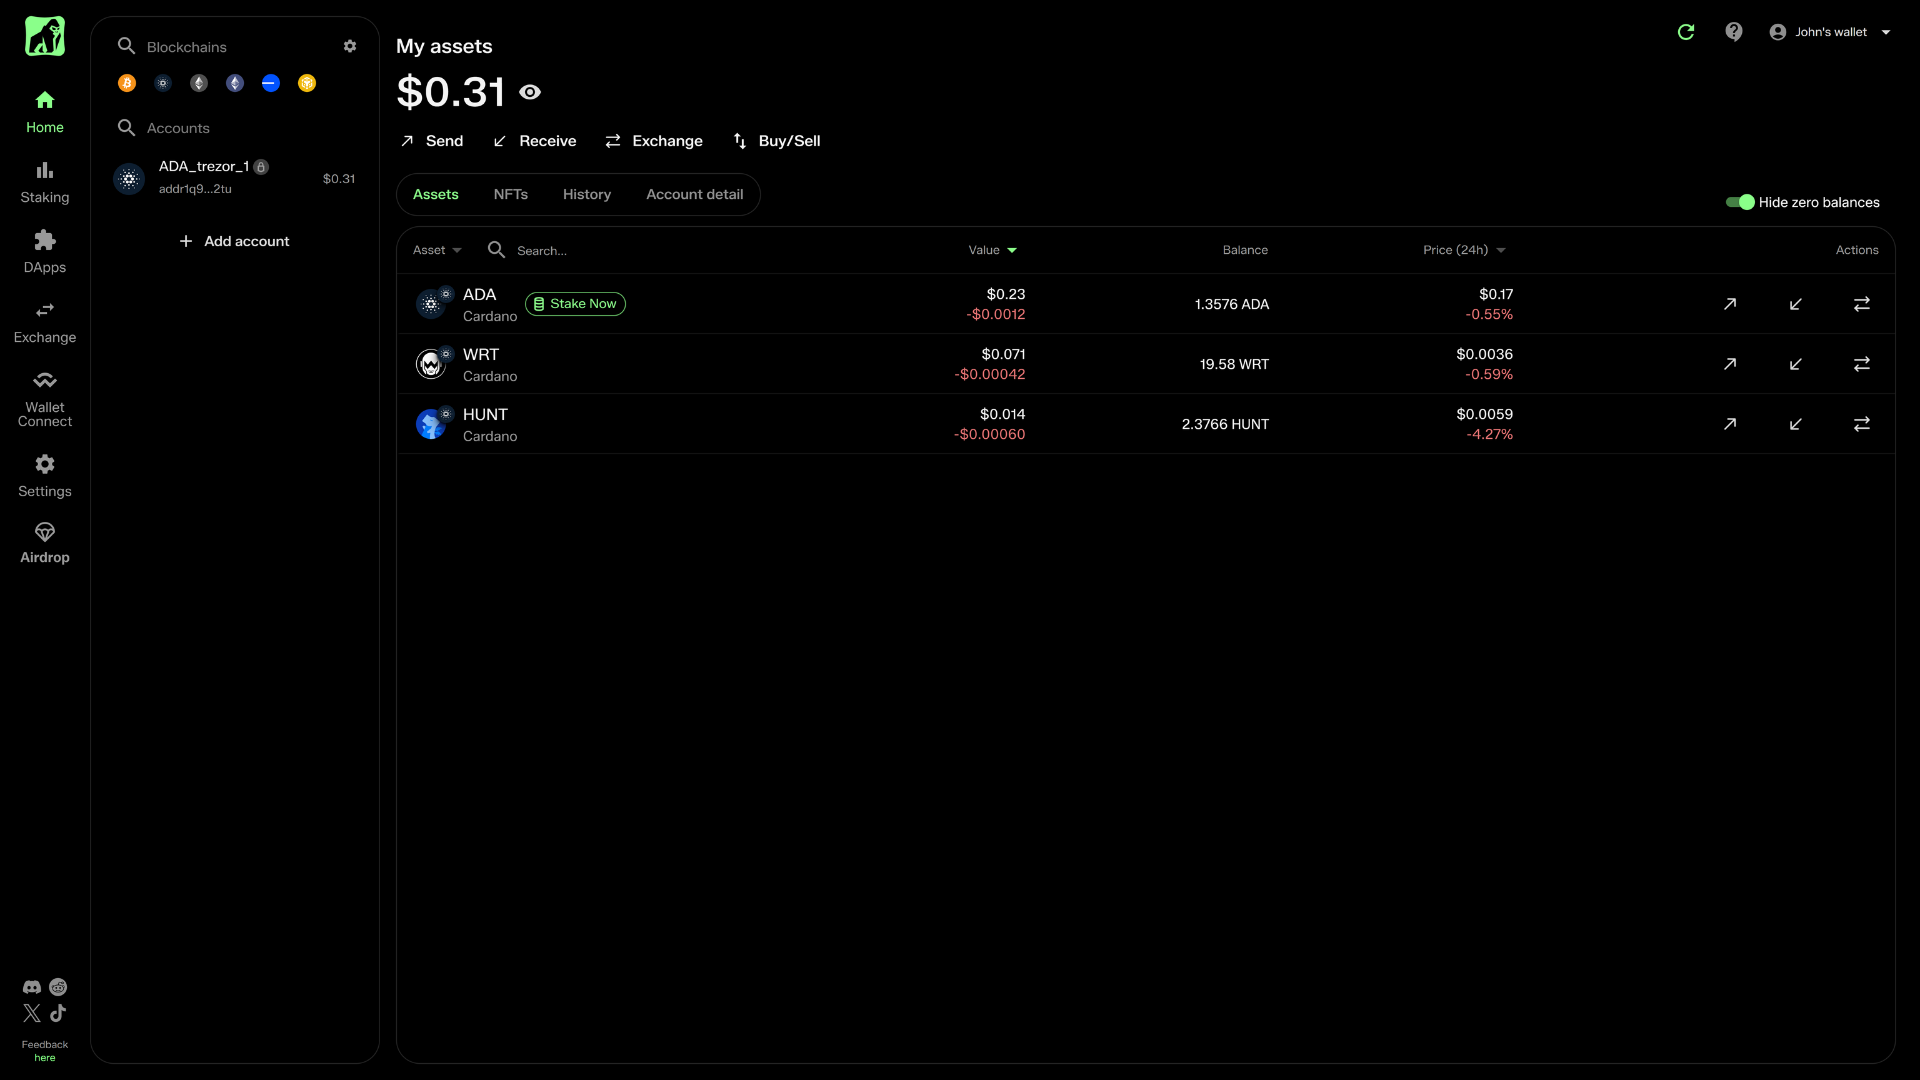
To add more accounts, click 'Add Account' at the bottom of the accounts list.
Step 8: (Optional) Import tokens for EVM blockchains
If your EVM accounts contain tokens that aren't visible after importing accounts, you may need to import the token manually before it's displayed in your wallet. Learn how to do this here.